Website and application development at Idehweb
We will help you in your progress. Our concern is to increase your sales and visibility. Also, receiving the right feedback for you is our pride and growth. This is a two-way business, your focus should be on selling and improving your service, leave the rest to us. We provide you the best website, application and software with last technology. We most work open-source and handle enterprise in some cases.

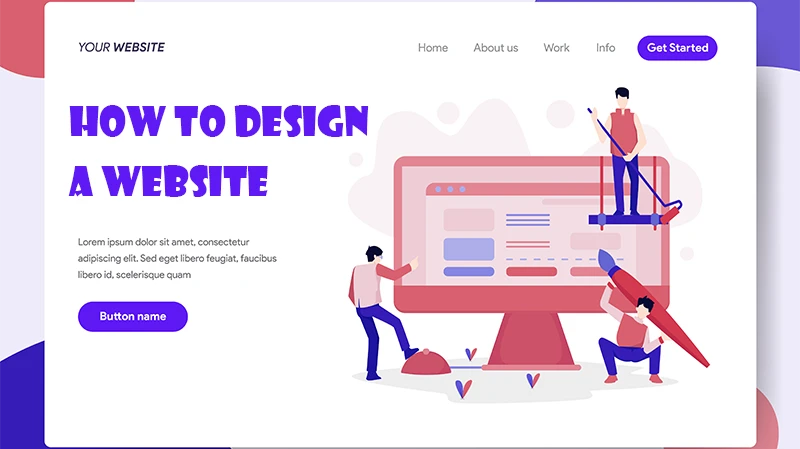
Web Design
Web design is the process of creating and designing the visual appearance and layout of a website. involves a combination of skills, including graphic design, user interface (UI) design, and web development. The main objective of web design is to create an aesthetically pleasing, user-friendly, and engaging website that effectively communicates a message or promotes a brand.
Software Developing
Designing, creating, testing, and maintaining computer programs or software applications. involves a combination of programming, problem-solving, and analytical skills to develop software that meets specific requirements and solves particular problems.


PWA & Application Design
PWA stands for Progressive Web App, which is a type of web application that combines the best features of both web and mobile applications. PWAs are designed to be fast, reliable, and engaging, providing a seamless user experience across different devices and platforms.
Application design refers to the process of creating the overall structure, layout, and functionality of an application. Application design also includes considerations for branding, visual aesthetics, and usability.
Our products
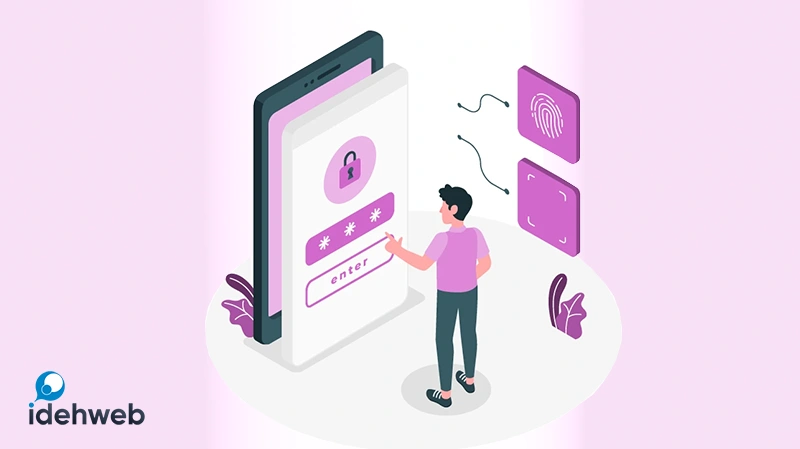
Login with Phone Number
Learn how to implement a secure and convenient phone number login feature using the plugin “Login with phone number in WordPress“. Streamline user authentication and enhance the user experience with phone-based login in your WordPress website.
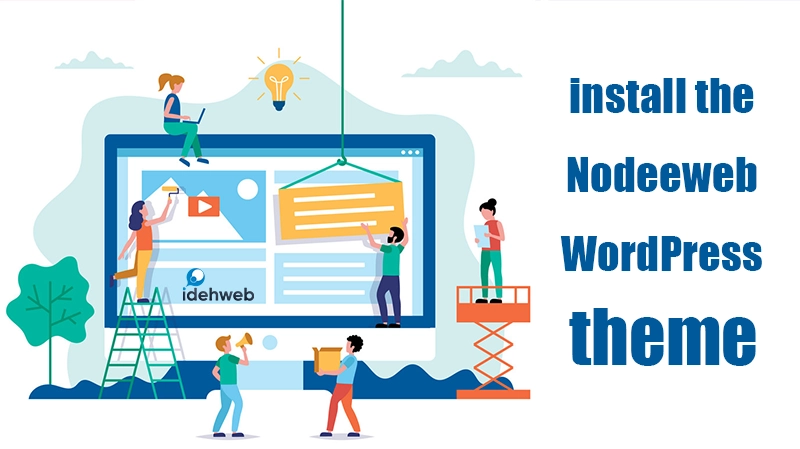
Nodeeweb
The Nodeeweb platform is a web development framework or infrastructure built using Node.js. It provides a set of tools, components, and utilities to facilitate server-side development for web applications. The platform includes a server component, which handles server-side operations, routing, and integration with APIs or databases. It is designed to help developers build scalable and efficient web applications using Node.js.
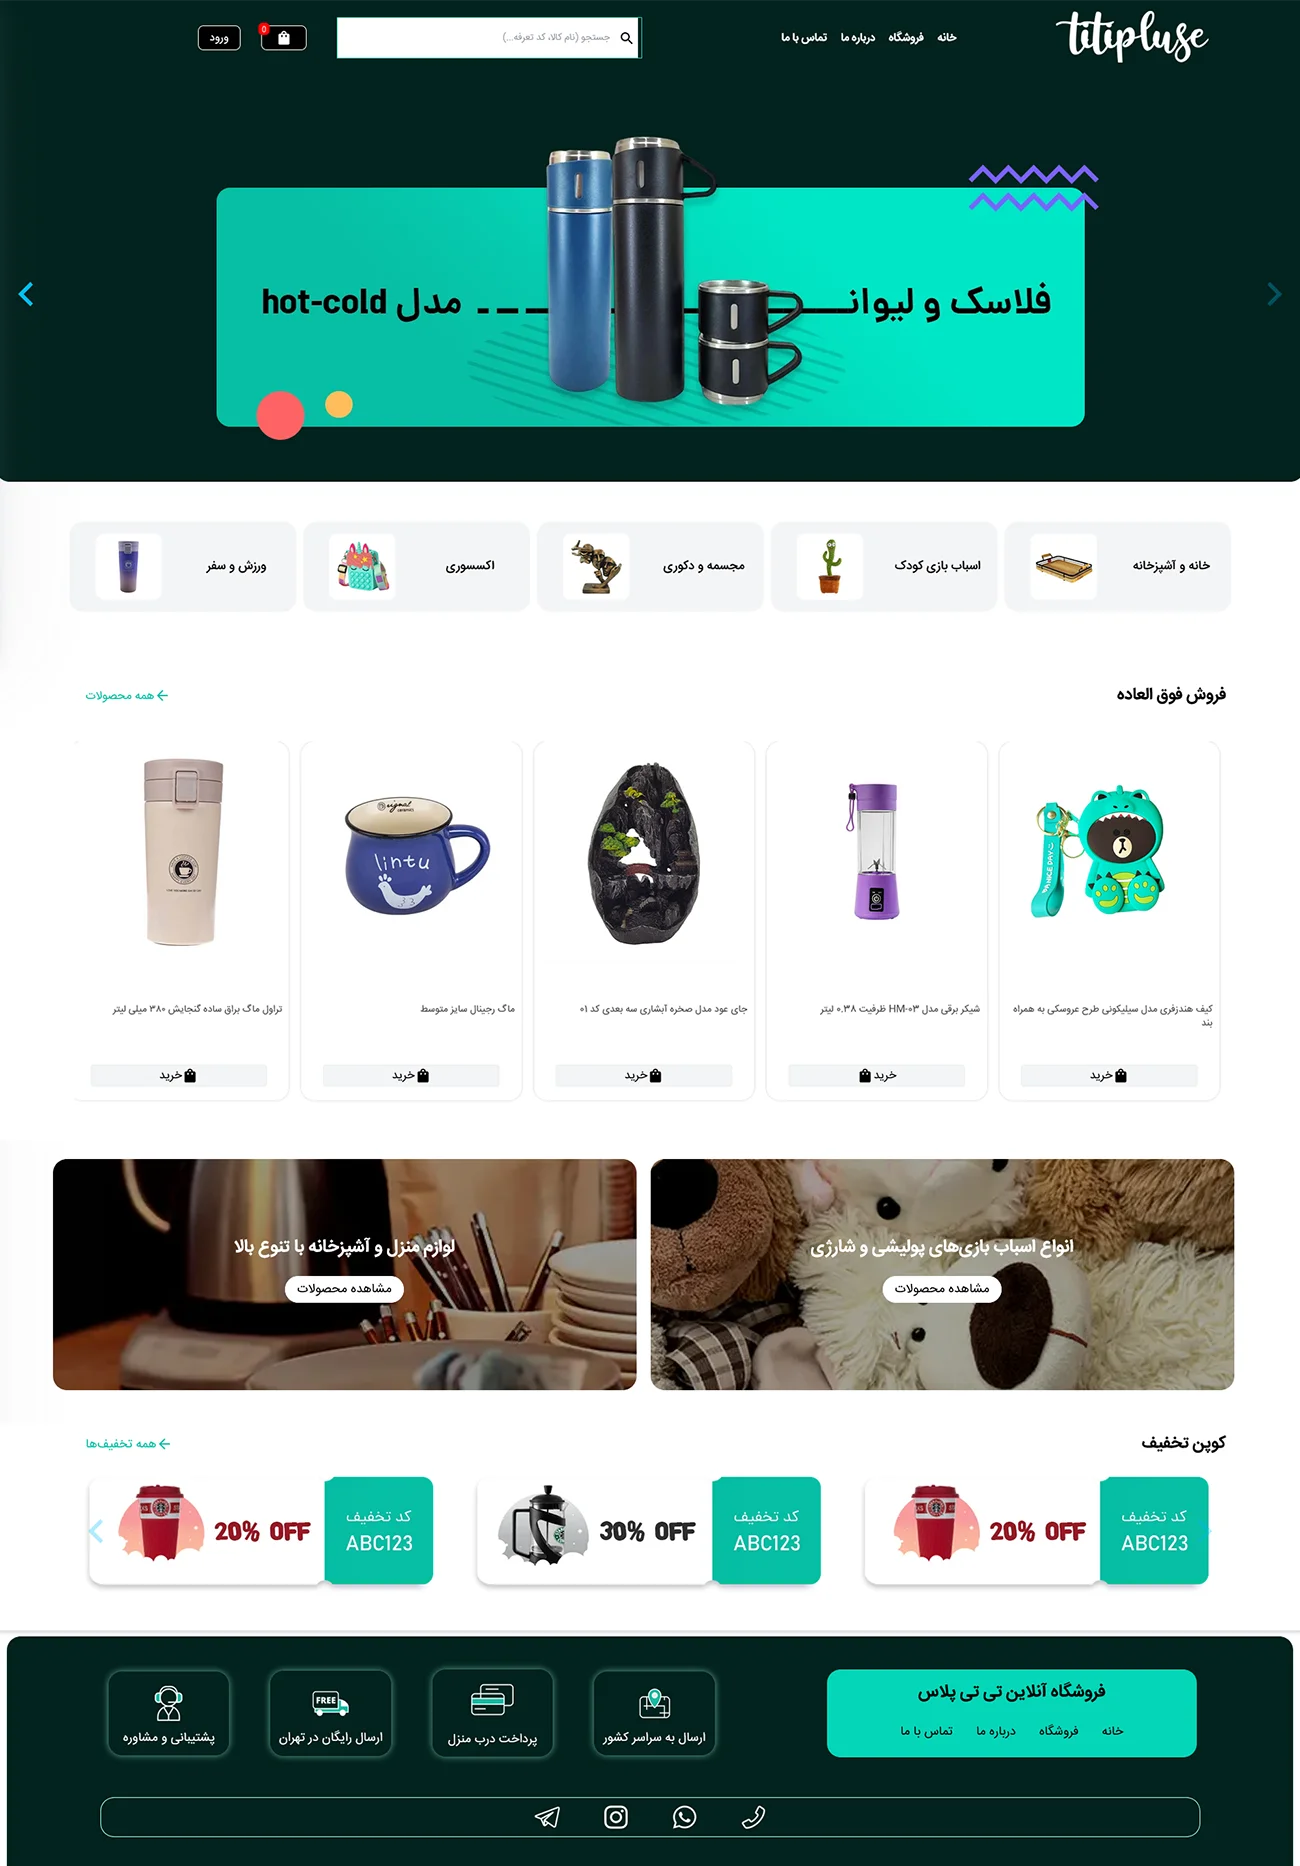
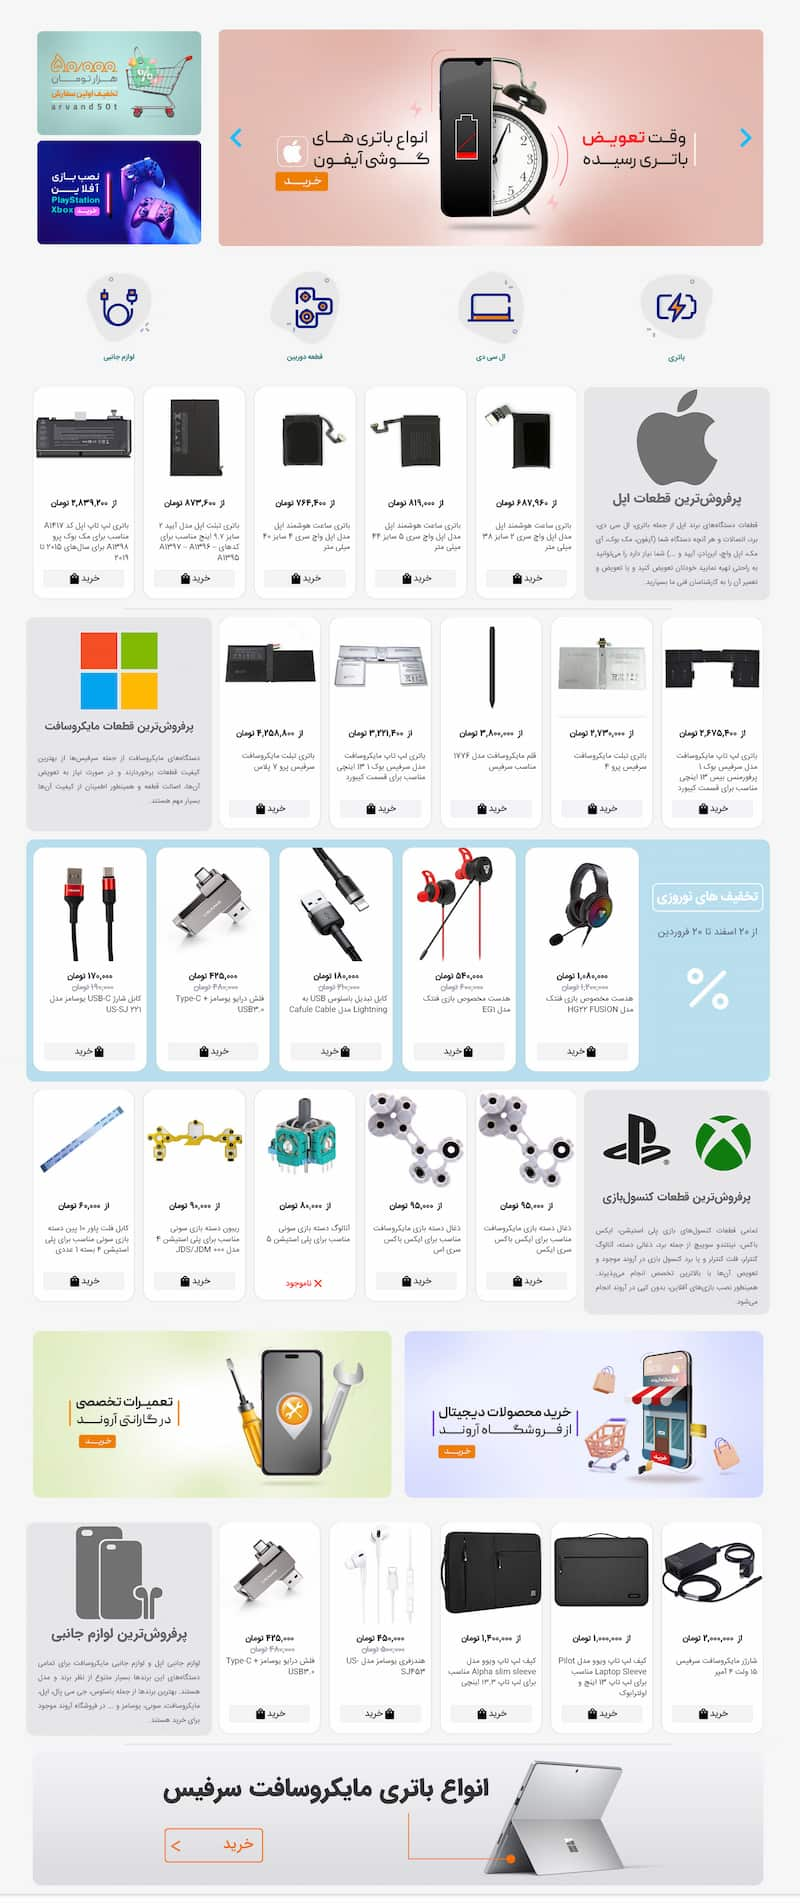
Nodeeweb | WordPress Theme
Nodeeweb is a modern and responsive WordPress theme designed for building professional websites.
It offers a clean and sleek design, making it suitable for various types of websites such as portfolios, business websites, creative agencies, and more.
Our Projects